What Plumbing Is Needed For A Dishwasher?
Did you know that the cost of installing your new dishwasher isn’t always included in its final price?
If you have ever bought an appliance from an online or offline home-improvement store, you’d know that installing it often requires DIY skills. And dishwashers, which are among the most useful household appliances, aren’t an exception.
So, here we are to help you figure out the dishwasher plumbing in the absence of a professional service.
What Do You Need To Connect A Dishwasher?
Before you can start connecting your new dishwasher to the existing plumbing, there are a few things to take care of.
First and foremost, you should ensure a compatible power connection for the unit to run smoothly. Now, most dishwashers employ either an NM circuit cable, which directly runs into the wire connection box on the unit. These are referred to as “hard-wired” dishwashers. Or, they may use a basic cord that fits into any wall outlet.
However, keep in mind that the Building Code of Australia states that water pipes and power points can’t be installed in the same under-sink cabinet as the dishwasher.
This means that the drainage pipe, power outlet and water lines should ideally be installed in an adjacent cabinet. And the required hoses and pipes are connected to the unit through an opening between the two cabinets. Hence, make sure you make the necessary arrangements before starting with the installation.
Next comes the water supply connection, which is a relatively easy process. All you have to do is connect the water inlet valve (located on the dishwasher) to one end of a braided steel tube supply line. For this purpose, you will need a dishwasher 90-a dedicated brass attachment. And the other end of this line should be connected to the shutoff valve of a hot water supply line.
The good news is that most dishwasher installation kits come with both the attachment and the supply connection line, so you don’t have to buy them separately.
Last but not least, connect the drain hose to the drain trap located under the sink according to the plumbing codes of your area. A successfully installed drain hose will keep the dirty wastewater from re-entering the dishwasher, which is why it’s either attached to the sink outlet or garbage disposal.

Tools Required For Installing The Dishwasher
- Dishwasher installation kit
- Connection cord
- Wire nuts or connectors
- Pipe joint fixture
- Screwdriver
- Pliers or wrenches
- Drill and bit set
Step 1: Connect The Appliance Cord
Although the exact location of the plumbing and electrical connections will depend on the model you choose, these are generally placed behind an access panel. And this panel is placed on the front bottom side of the unit. Hence, it may be a good idea to make these connections while keeping the dishwasher lying flat on its back on the floor.
Once you remove this panel using the screwdriver, you will have access to the electrical housing. Now, carefully insert the provided power cord through this housing so that the green wire connects to the green grounding screw. Likewise, the black wire should connect to the black tip and the white one should connect to the white tip.
Use the wire connectors and nuts to secure these connections and replace the housing.
Step 2: Connect The Water Supply Line
Start by installing the dishwasher 90 attachment on the water inlet (solenoid valve). For this, apply some pipe joint compound to the threads on the attachment, place it on the inlet and tighten its position by twisting it. You may even use the pliers or wrench to ensure that it’s fully fitted.
Then, take the water supply tube and attach its coupling nut to the attachment using the pliers. However, be careful not to apply too much pressure, as this may damage the threads of the coupling nut and, in turn, the connection.
Step 3: Place The Dishwasher
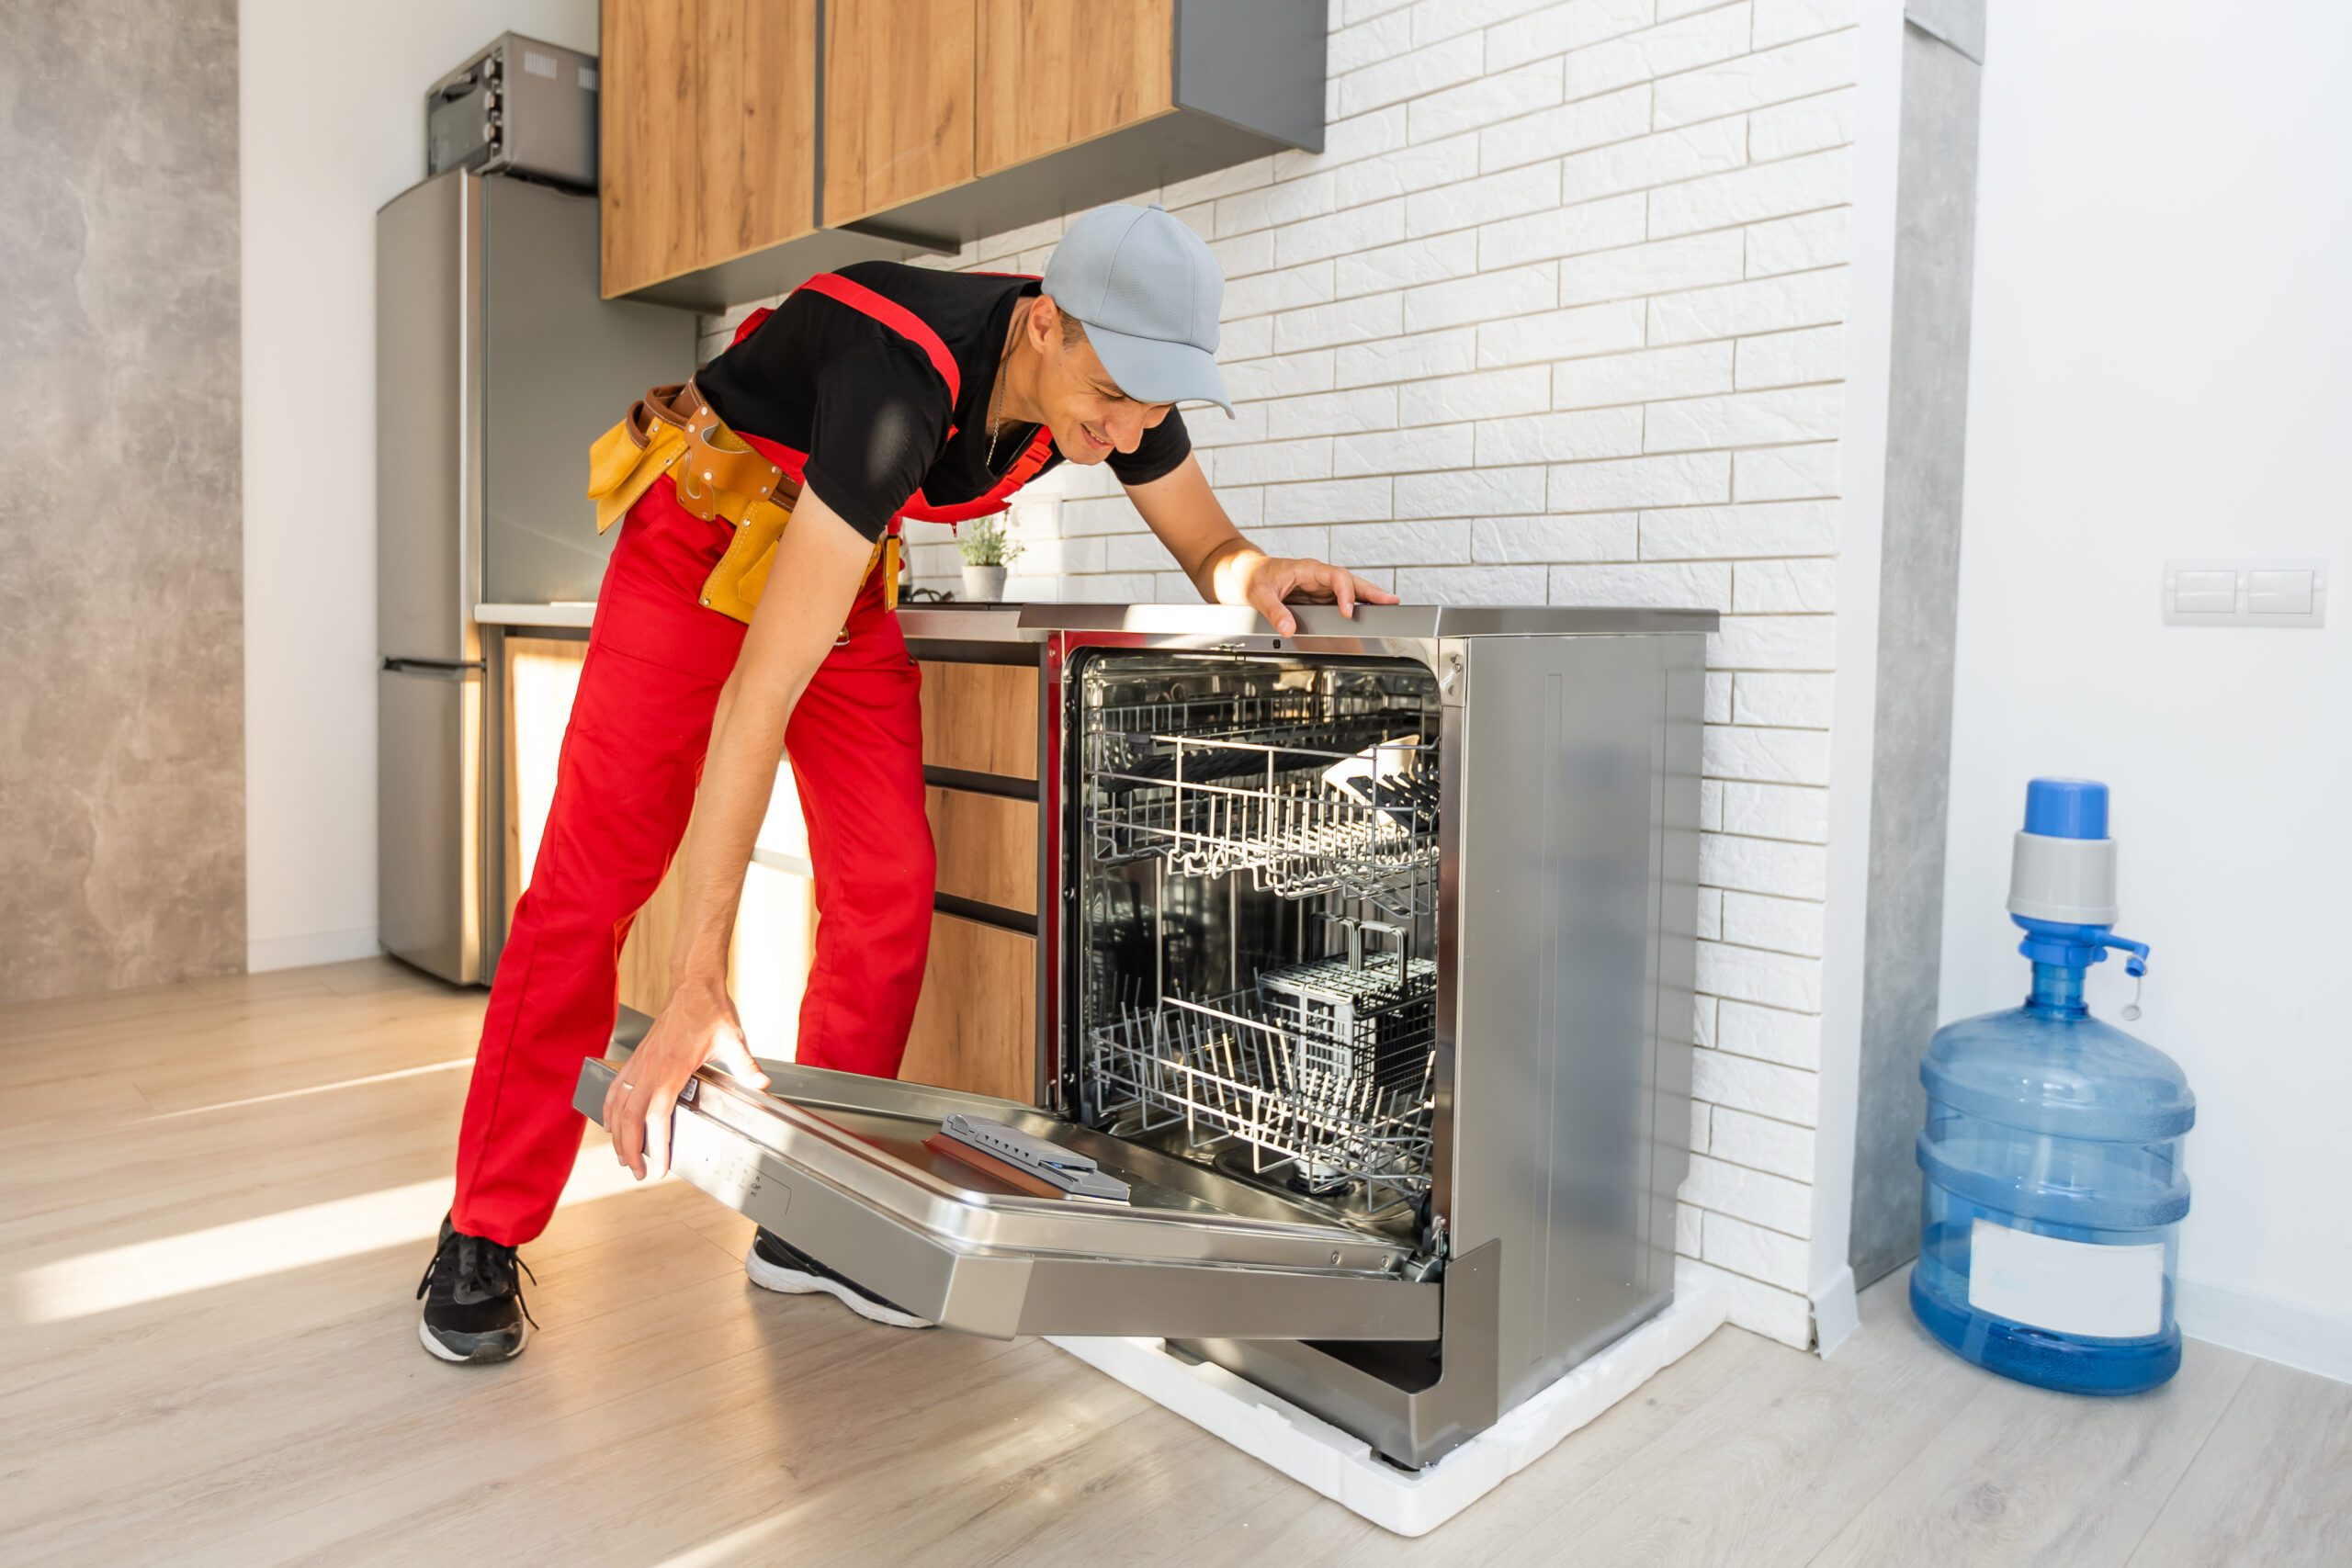
Straighten the dishwasher so that its front side is facing you and push it inside the under-sink cabinet. Use the opening on the sidewall of the cabinet to position the plumbing and electrical connections in the next cabinet.
If the dishwasher comes with an adjustable base or feet, you can decide its height according to your convenience.
Step 4: Fasten It To The Cabinet Frame
Once you have decided on the position and height of the dishwasher, open its door to get to the mounting brackets. The installation kit should also come with screws that will help you fasten it to the frame of the cabinet.
Step 5: Connect The Other End Of The Water Supply Tube
As the next step, connect the free end of the water supply tube to the shutoff valve under the sink and turn it on to check for potential leaks. Simultaneously, check the other end of the connection (attached to the dishwasher) to ensure that there are no leaks.
If you notice any, use the pliers or the wrench to tighten the joints, but don’t turn them aggressively. Otherwise, you may break the fittings.
Step 6: Attach The Drain Hose
The penultimate step in the process involves attaching the drain hose to the dishwasher by following the plumbing regulations in your area.
For instance, some regions may require you to attach the drain hose to the air gap fitting on the countertop, while others may mandate looping it up and securing it under the sink. Finally, plug in the unit and test it by running a full cycle to ensure that the water inlet and outlet are functioning properly.
Final Words
Your dishwasher is now ready to use!
Truth be told, dishwasher plumbing can be both challenging and tiresome, especially if you aren’t familiar with DIY plumbing tasks. In that case, we’d suggest calling trained and licensed professionals. Not only will they ensure the safe installation of your dishwasher, but they will also comply with the complicated plumbing codes in the best possible manner.
See you next time!