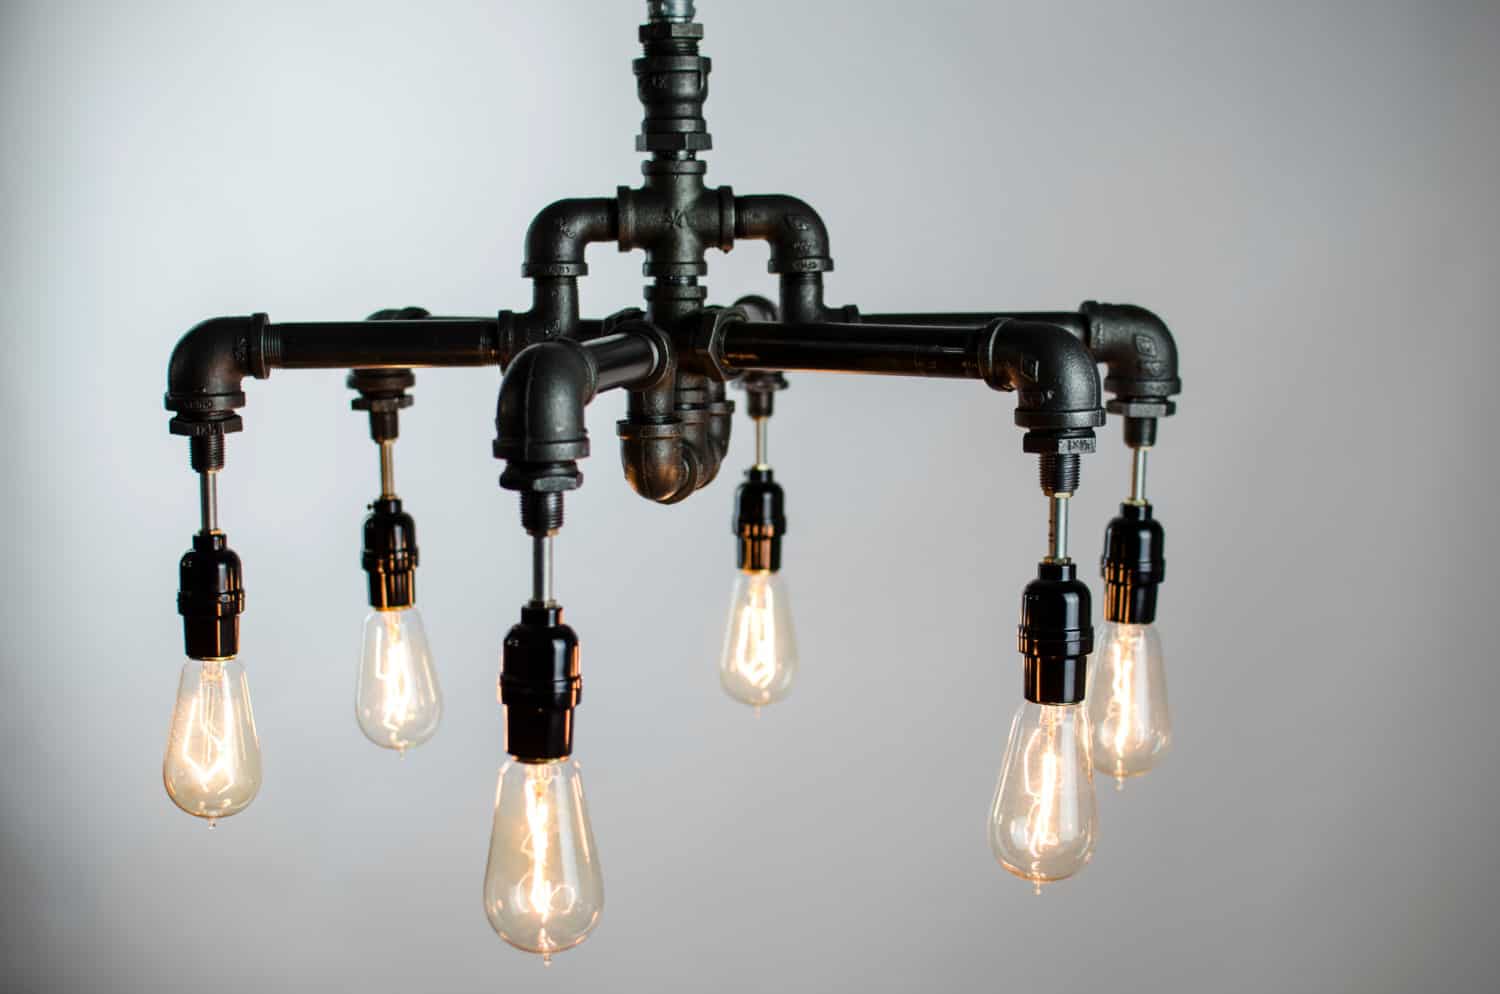
Make A Fabulous Plumbing Pipe Light Fixture in 4 Easy Steps
Want to build your very own plumbing pipe light fixture? Thanks to increasing discourse around climate change and the impact we’re all having on the planet, more and more people are starting to upcycle and make their own home decor and furniture. One noticeable trend in upcycling that has been gaining more traction is the creation of homemade light fixtures using materials such as cutlery and piping.

We deal with a lot of pipes at All Day Plumbing, so we wanted to share this handy guide on how to make your own fabulous plumbing pipe light fixture. This unique light fixture will add some real character to your interior decor with a nostalgic, inviting ambience.
How to make a plumbing pipe light fixture
To start with, think about where it will be located in your home. Is it going to be a centrepiece in your open kitchen or act as some sort of chandelier in your entryway? Dimensions are important to consider here, as plumbing pipe light fixtures offer unlimited versatility.
Things to consider before making your fixture
This project will require a good level of foresight so that you can effectively construct your desired light fixture. We have outlined a few considerations below:
- Design your outline with sizes, styles and location in mind
- Source all of your materials before getting started on construction
- Ideally, draw out a blueprint of your design with all of the necessary components
- Allow for alterations throughout the process
- Make sure all of your materials and components will be safe to use as a light fixture
- Consult an electrician for the wiring and installation stage unless you are qualified
Starting your build
A good place to start with your plumbing pipe light fixture project is to make sure you have all of the required materials. We have included a general list of things you will need, but your inventory might be different depending on the style and size you opt for. You will need:
- A selection of pipes including connectors, elbow joints, tees, flanges and unions
- Light bulb sockets
- Your choice of light bulbs
- Spray paint
- Floor flange
- Coupling adapters
- Gloves
There are several brands that sell piping which is great for interior design use. These pipes tend to be pricier but may fit your aesthetic better. For a genuinely upcycled pipe light fixture, sourcing old piping is the way to go.
Once you have gathered all of your materials, you should clear a workspace that you won’t mind getting a little dirty. Give your pipes a thorough clean with soapy water to remove any debris. It’s important that the pipes are completely dry before assembling, otherwise, the pipes may not affix to one another properly.
Step one: Assemble the frame
Step one is to construct your pipe light fixture design. This step will require you to wire-as-you-go, working from the outside frames and moving inward until you have a collection of wires coming out of the floor flange.
Step two: Affix the coupling adapters
Once you have assembled the frame of your light fixture, you will need to affix the coupling adapters to the section where the light bulbs will sit.
Step three: Get painting!
With the frame assembled, you can get to painting your fixture in whatever spray paint you like. You can use other paint mediums, although spray paint offers an even, polished look. Remember your gloves, as this part can get quite messy!
Step four: Mount the fixture
After letting your paint dry, you will need to mount the pipe lighting fixture to your ceiling. Do this using the floor flange. For added aesthetics, you can use a wooden or metallic plaque to create a base for your fixture.
This project does require some wiring, so it’s recommended that you seek a professional electrician to help with this stage. The risk of electrocution is high if you don’t know what you are doing with exposed wiring.
Enjoy your fantastic plumbing pipe light fixture!
This is a relatively easy project, but the finished fixture is a fantastic addition to any home. With a versatile design that can be tailored to meet any style or shape you need as well as an inspired aesthetic, it’s no wonder that plumbing pipe light fixtures are growing in popularity.
If you’re considering taking on this project yourself, be mindful that the wiring should be completed by a professional electrician. If you would like assistance with your installation and you are based in Sydney, please contact us at All Day Plumbing. We would be more than happy to help you complete your stylish new plumbing pipe light installation.